
Oct 1, 2026Clinic Workflow & Care
Veterinary Prep Room Layout: A Practical Workflow Checklist
A practical veterinary prep-room guide to table placement, staff movement, lighting, storage, cleaning access and utility checks before ordering.
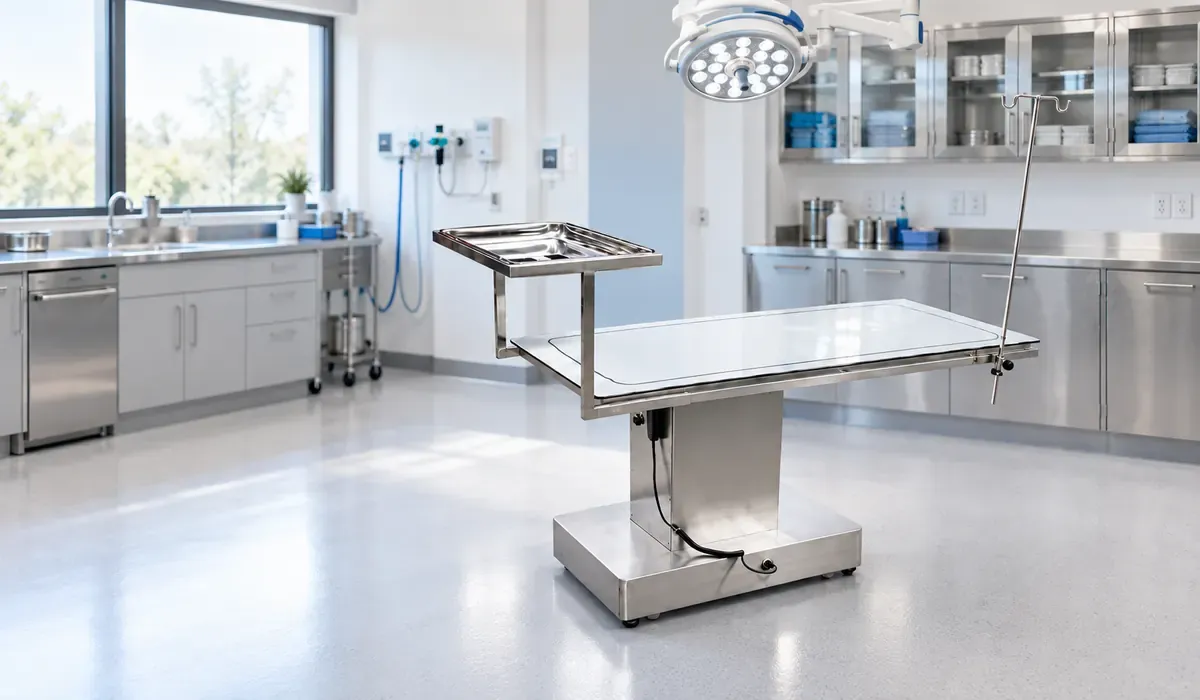
At 9:10 a.m., a veterinary prep room may already be doing three jobs: receiving the next patient, holding supplies for the current case and being cleaned after the last one. When the room feels crowded, the problem is not always its size. Often, the operating table, light, storage and utility points were planned separately instead of as one working route.
Before ordering equipment, walk through the room as your team actually uses it. This checklist turns that walk-through into practical questions for the clinic, contractor and equipment supplier.
Start with the handoffs, not the furniture
Follow one typical case from the doorway to the treatment or operating table and then onward to the next clinical area. Note where two people need to pass, where a trolley pauses, where packaged supplies are opened and where used items leave the room. A layout that looks tidy on a drawing can still create repeated crossings during a busy shift.
Place the table around the work that happens on all four sides
Do not choose a table position from the room centreline alone. Mark the table's full footprint, then add the space needed for staff, doors, drawers, a mobile light, an IV pole and any trolley used by the clinic. Check the position at the table's highest and lowest operating heights when those functions apply. Door swings and cabinet handles should not enter the working zone.
Test the light position before fixing power or ceiling points
A surgical or operating light needs more than an available ceiling location. Confirm that the arm can reach the intended table area without colliding with cabinets, monitors or doors. For a mobile light, test where the base will stand and how it moves around the table without entering the main walking route. Ask the supplier for the mounting, electrical and clearance information for the exact model.
Store supplies by the moment they are needed
Frequently used supplies should be reachable without forcing a team member to step away from the work zone or cross behind another person. Reserve nearby closed storage for routine items and keep bulk stock outside the tightest working area. When reviewing custom stainless-steel cabinets or table accessories, send the supplier a simple list of what must fit rather than asking for 'more storage' in general.
Walk the cleaning route while the room is still empty
Look for narrow gaps behind the table base, exposed cords on the floor, cabinet legs that create difficult corners and equipment that blocks access to wall edges. Confirm which table surfaces, trays and accessories are removable and review the supplier's cleaning instructions. The clinic's own approved cleaning protocol should determine the final workflow and products used.
Put power and utilities where the equipment will actually connect
List every powered item planned for the room and record its intended position. Confirm voltage, frequency, plug type, cable exit, rated power and any mounting or service access required for the exact equipment. Keep cables and hoses away from doorways, wheels and wet-cleaning paths. Electrical and building work should be reviewed by qualified local professionals.
Run a ten-minute floor mock-up before approving the order
Use removable tape or cardboard to mark the table, storage and mobile-equipment footprints on the floor. Ask two team members to simulate entering, positioning a trolley, reaching supplies and leaving the room. Open every nearby door and drawer. This quick exercise often reveals a blocked corner or awkward handoff that is invisible in a product catalogue.
What to send the equipment supplier
Share a measured room plan, doorway and lift dimensions, photos of the intended location, available utilities, the table orientation, required accessories, quantity and destination market. If dimensions need to be customized, mark which measurements are fixed and which can change. Request the final product dimensions, utility requirements, mounting information, packing dimensions and installation guidance in writing before production.
A short approval checklist for the clinic team
Before sign-off, confirm five things: the patient and staff route works; every door, drawer and accessory can open; the light reaches the table without interference; cords and utility connections stay out of traffic and cleaning paths; and the supplier drawing matches the room plan. Keep the approved drawing with the purchasing record so the clinic, contractor and supplier are working from the same version.
Common veterinary prep-room planning questions
Should the operating table always sit in the centre of the room? Not automatically. Its position should follow staff access, light reach, utility connections, door swings and the route used to move patients and equipment.
When should custom dimensions be discussed? Before utilities, cabinetry and final equipment locations are fixed. Send a measured drawing and identify the dimensions or functions that cannot change.
Can a product photo confirm whether equipment will fit? No. Use the supplier's dimensioned drawing and verify the room, doorways, delivery route and service clearances for the exact configuration.
Vetese manufactures stainless-steel veterinary operating and treatment tables, surgical lights, cages and related clinic equipment. When requesting a quotation, include the measured room plan, required functions, quantity and destination market so the proposed equipment can be checked against the project information. Final installation must follow the exact product documentation and applicable local requirements.