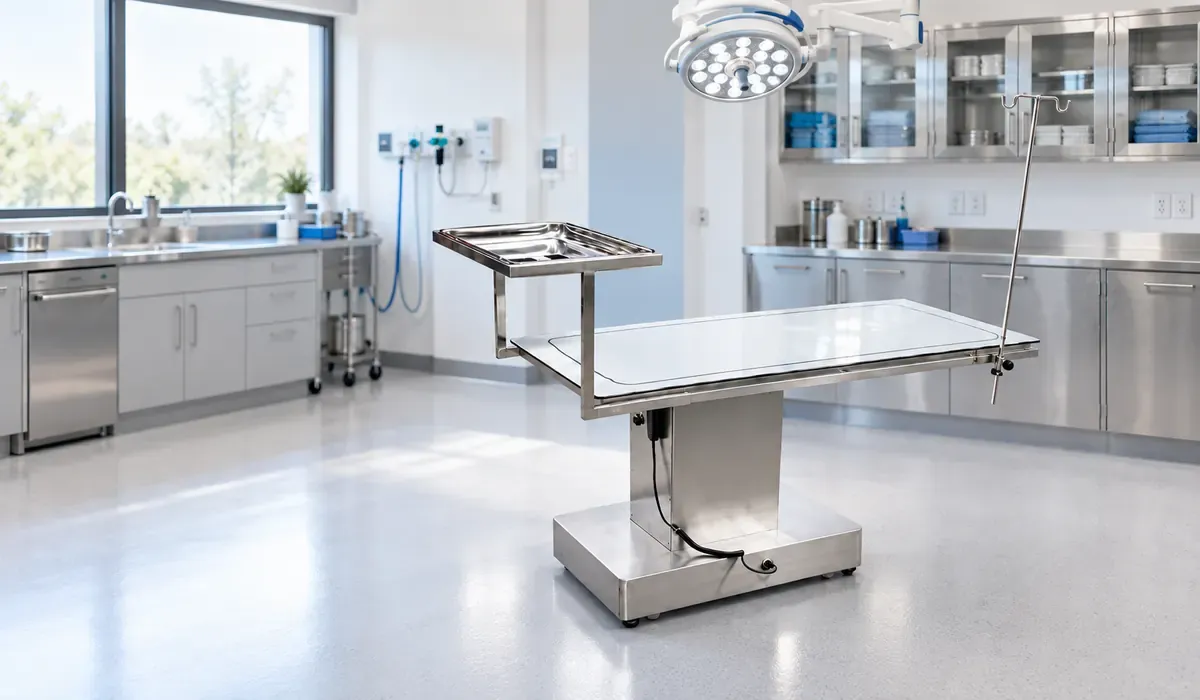
Oct 3, 2026Clinic Workflow & Care
Veterinary Equipment Delivery Checklist for Clinics
A practical checklist for measuring doors, lifts, corners, unloading areas and installation routes before veterinary equipment is ordered.
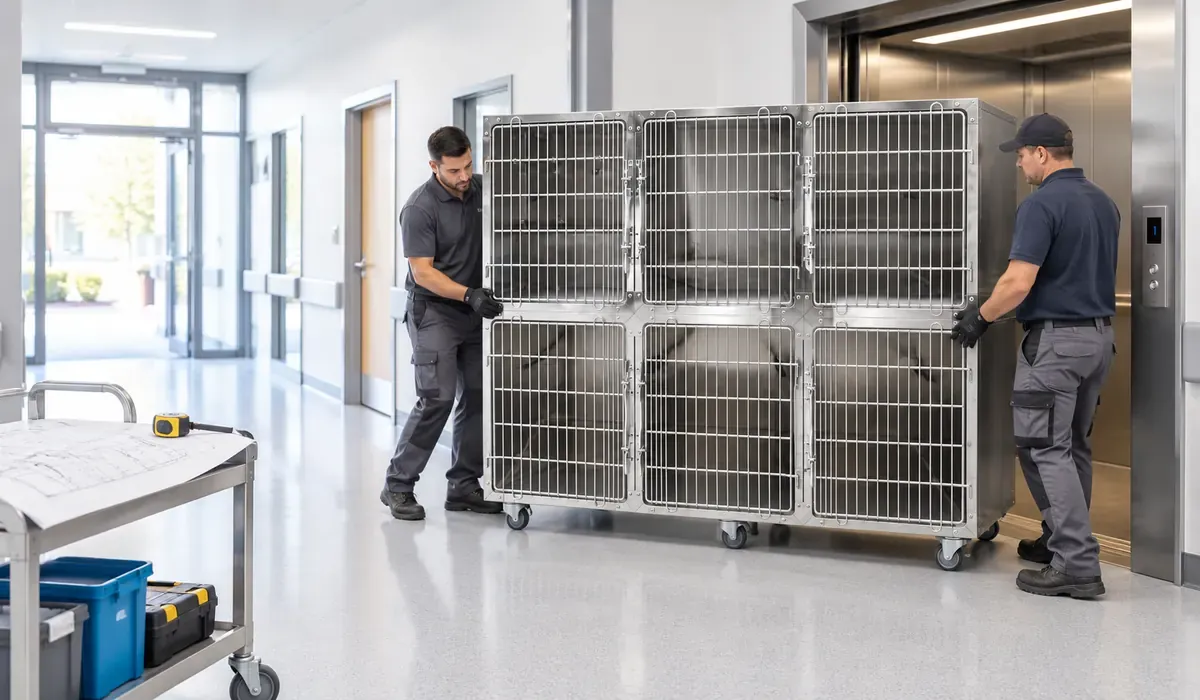
The cage bank has arrived on time, but it will not turn into the corridor. The treatment table fits through the clinic door, but not while it is still in its crate. A lift is available, yet nobody checked the clear opening or rated load. These are delivery-day problems, but they usually begin much earlier—when equipment is ordered without mapping the final route into the building.
For a veterinary hospital, a delivery plan should be part of the equipment specification. A short site walk before the order is confirmed can prevent disruption at reception, blocked clinical areas and last-minute decisions about unpacking or temporary storage.
Cover image note: The VTSC-C06 cage bank is based on Vetese product imagery; the clinic delivery setting and installers are AI-generated for illustration.
The difficult part is often the last 30 metres
Start at the real unloading point, not at the clinic entrance on the floor plan. Follow the route a packed item must take from the vehicle to its final room. Include loading-bay gates, ramps, kerbs, external doors, reception areas, fire doors, corridors, corners, lifts and the final doorway. Record temporary obstacles as well as fixed ones.
Ask for packed and unpacked dimensions
Product dimensions alone do not describe the delivery. Request the packed length, width, height and gross weight for the exact configuration, along with the unpacked dimensions and information about removable components. Do not assume that a cage bank, table accessory or light stand can be dismantled on site unless the supplier documents that method.
Measure the narrowest opening—and the approach to it
Measure the clear opening after handles, door closers, frames and protective rails are considered. Then look at the approach: a wide door can still be unusable if the corridor is too short for the equipment to rotate into position. Photograph both sides of every tight corner and add the measurements to one route drawing.
Check the lift as a complete constraint
For an upper-floor clinic, confirm the lift-door clear opening, internal car dimensions, rated load and the space available outside both lift doors. Ask the building manager about booking, protective lining and permitted delivery hours. The equipment weight must be checked together with the people and handling equipment required to move it.
Decide where unpacking will happen
Sometimes a packed item cannot pass through a doorway even though the equipment itself can. Choose a safe unpacking area before delivery and confirm whether removing the crate changes the handling method or protection needed. Plan where packaging will be held and removed so it does not obstruct reception, clinical circulation or emergency routes.
Protect the clinic schedule from the delivery route
Map the route against the clinic's busiest times. Identify rooms or corridors that may need temporary access control, and decide who will meet the carrier, confirm the equipment identity and guide it to the correct room. For a working hospital, the delivery window should be agreed with the clinic team and building management rather than treated as a logistics detail.
Prepare the final room before the truck arrives
Confirm the final position, utilities, wall or floor fixing requirements, service clearance and nearby door swings using the supplier's current drawing. Finish any required electrical or building work and remove unrelated furniture from the route. Qualified local professionals should review work that falls within electrical, structural or building requirements.
Separate delivery, installation and acceptance
Arrival at the room does not mean the project is complete. Clarify who removes packaging, assembles accessories, positions or fixes the equipment, connects utilities and checks the delivered configuration against the order. Record visible transport damage or missing parts before packaging is discarded, following the supplier and carrier documentation.
What to send the supplier before ordering
Send the room plan, delivery-route measurements, doorway and lift details, photos of difficult corners, floor level, unloading conditions, required quantity and destination market. Ask for the exact product and packed dimensions, gross weight, centre-of-gravity or handling notes when available, removable-component information, packing method and installation requirements.
A short access-route walk-through
Bring the route drawing, a tape measure and the proposed packed dimensions. Walk from the unloading point to the final room without skipping the lift lobby or the final turn. Mark the narrowest width, lowest height, tightest corner, floor transition and any point where the item must change direction. Have a second person review the route before the order is approved.
Common veterinary equipment delivery questions
Is the product size enough to check access? No. The clinic also needs the packed dimensions, gross weight, handling method and turning space for the exact shipment.
Can equipment always be unpacked outside the final room? Not automatically. Confirm the supplier's handling instructions, weather protection, security and whether the product can be moved safely after the crate is removed.
When should a delivery route be checked? Before the order and final dimensions are approved, then again shortly before delivery if construction or clinic operations have changed the route.
Vetese manufactures stainless-steel veterinary cages, operating and treatment tables, surgical lights and related clinic equipment. When requesting a quotation, include the room and access-route information needed to compare the proposed equipment with the project. Final delivery and installation arrangements must be confirmed for the exact configuration, site and destination market.